Are you looking for a more efficient way to heat and cool your home? A heat pump is one of the most energy-efficient solutions for managing year-round indoor temperatures. By transferring heat from the outdoors, it can provide both heating in the winter and cooling in the summer. If you’re considering installing it, it’s important to understand the installation process. The following comprehensive guide will walk you through each step, from preparation to final testing.
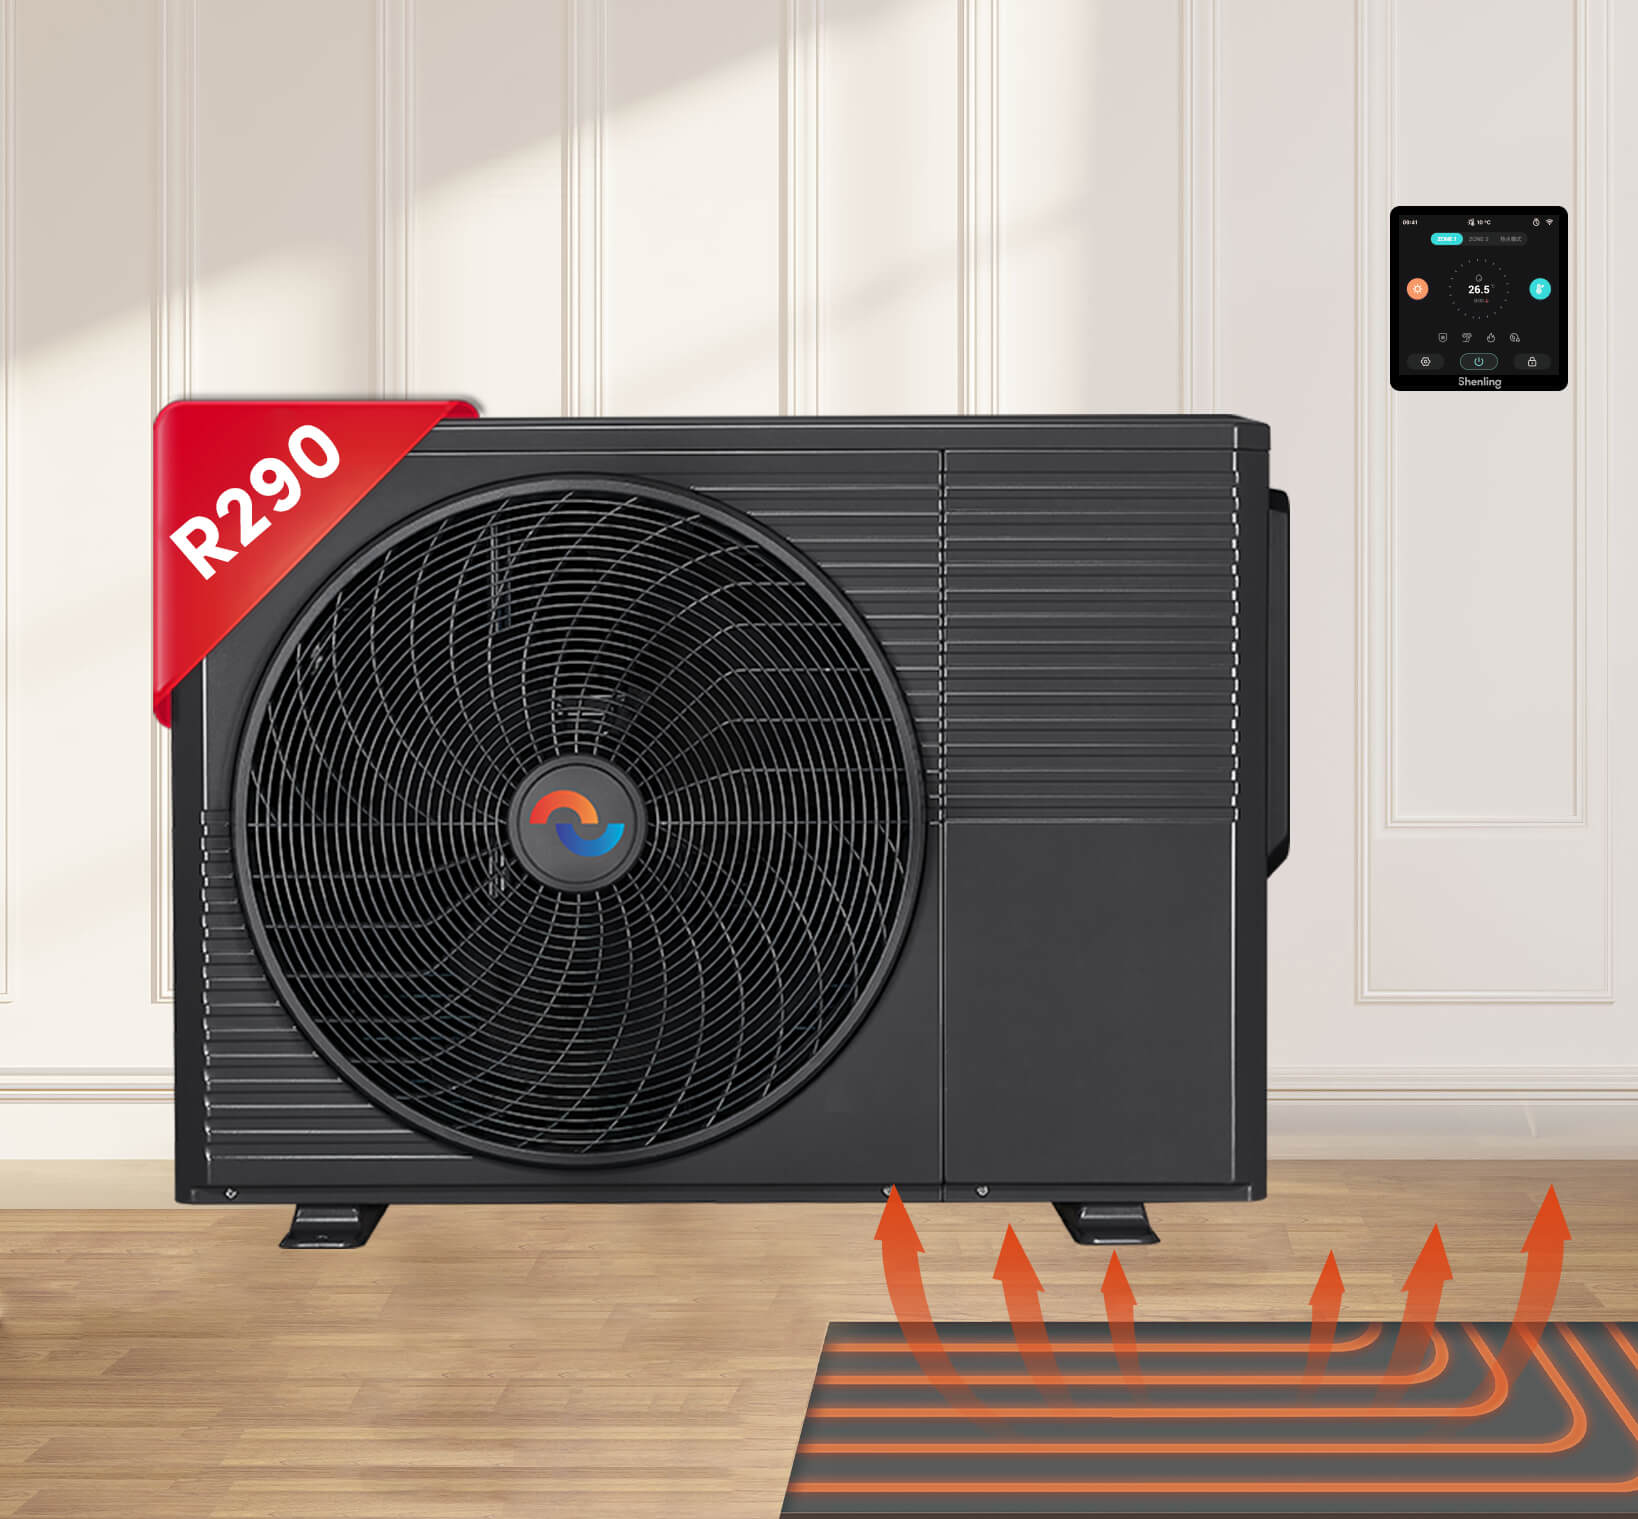
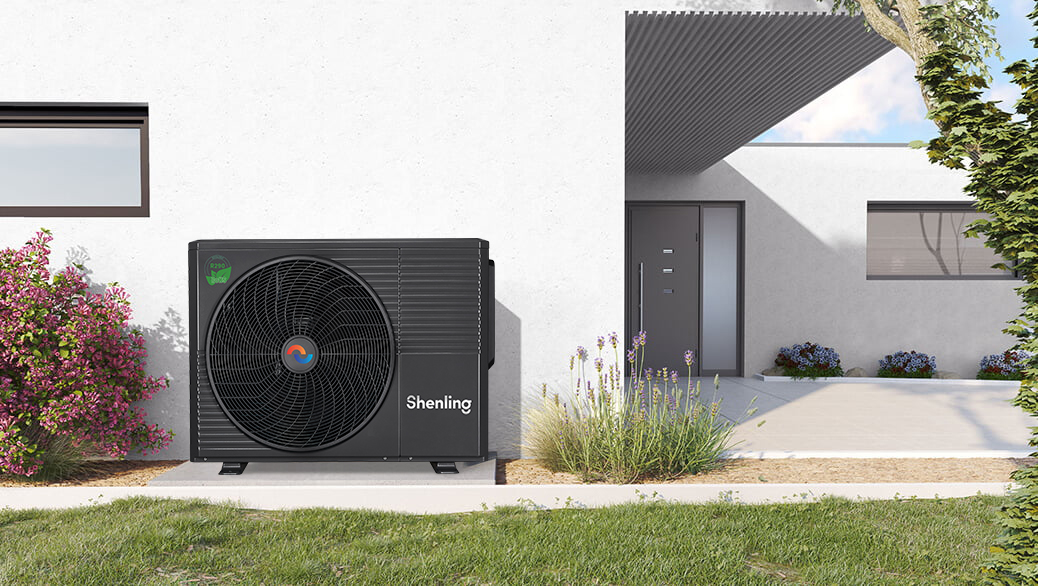
An Reference Project of Shenling Heat Pump
What is a Heat Pump?
A heat pump is an energy-efficient heating and cooling system that uses refrigeration technology to transfer heat between the indoors and outdoors. In winter, it extracts heat from the fresh outside air (even in cold weather) and brings it indoors. During the summer, the process reverses, and the heat pump acts as an air conditioner, removing heat from your home inside.
Air-source heat pumps: The most common type, which extracts heat from the air outside.
Water-source heat pumps: Draws heat from water, such as lakes or wells.
Geothermal heat pumps: Uses the earth’s stable temperatureto transfer heat.
For most residential applications, air-source heat pumps are the preferred choice due to their efficiency and cost-effectiveness.
Key Considerations Before Installing a Heat Pump
Before purchasing a heat pump, there are several factors to consider to choose the right type for your house.
Home Insulation and Efficiency: Homes with poor insulation or air leaks may not benefit from a heat pump unless improvements are made. Proper insulation and sealing are crucial to maximizing the efficiency of the heat pump.
Home Size: Larger homes require more powerful heat pumps to ensure efficient heating and cooling. A professional HVAC contractor can perform a heat load calculation to determine the appropriate size for your property.
Climate: While heat pumps are effective in many climates, they perform best in moderate temperatures. In extremely cold climates, a dual fuel system (combining a heat pump with a backup furnace) may be necessary for optimal performance.
Check HOA Approval: If you live in a neighborhood governed by a homeowners association (HOA), make sure you have approval for any exterior modifications to your home before beginning the installation process.
Ensure Sufficient Space: The outdoor unit requires a flat, level surface for installation. In addition, the indoor unit needs enough space for proper airflow and maintenance access.
Set a Timeline: Heat pump installation may take several hours or even a day, depending on the complexity of the system and the condition of existing infrastructure. Ensure you’re prepared for temporary disruption to heating and cooling during the installation.
Level the Ground for the Outdoor Unit: Install a composite pad or a concrete slab for the outdoor unit to sit on. This helps prevent water pooling and improves long-term system efficiency.
Shenling Heat Pump
Disconnecting the Old Heat Pump
If you’re replacing an existing heat pump, the first step is safely disconnecting and removing the old system. This requires handling refrigerants with care, as they are hazardous to the environment. Licensed professionals will use specialized equipment to recover and safely dispose of the refrigerant in compliance with EPA regulations.
Once the refrigerant is safely removed, the old electrical connections will be disconnected, and the unit will be taken out of place.
Installing the New Heat Pump System
Now that the old system is removed, it’s time to install the new heat pump. Here are the key steps involved:
Install the Indoor Evaporator Coil: The evaporator coil is responsible for transferring heat inside your home. Depending on the type of system, the coil may be cased or uncased. Cased coils are generally recommended because they offer a better protection during installation.
Connecting Refrigerant Lines: The refrigerant lines, typically made of copper, need to be connected between the indoor and outdoor units. The contractor will carefully weld these lines to ensure a leak-free connection.
Electrical Connections: The heat pump needs to be integrated into your home’s electrical system. A qualified professional will handle wiring for the heat pump, ensuring everything is properly connected and up to code.
Thermostat Setup: A new thermostat, or an upgrade to your existing one, may be required for optimal heat pump control. The technician will connect and calibrate the thermostat to control both heating and cooling functions.
Install the Outdoor Unit: The outdoor unit houses the compressor and heat exchanger. It’s typically placed on a raised composite pad to protect it from debris, snow, and ice. In some cases, the unit may need additional modifications to its location for optimal airflow and efficiency.
How Long Does Heat Pump Installation Take?
On average, heat pump installation takes between 6 to 8 hours. However, the installation time can vary based on several factors:
Weather conditions (cold, rainy, or extreme heat)
The complexity of your home’s existing ductwork and wiring
Additional installation requirements, such as new ductwork or the need for an upgraded electrical system
The Final Steps and Testing
Once the installation is complete, the technician will perform a commissioning process, which includes a thorough test of the heat pump system. This typically takes 30 to 45 minutes. During this phase, the technician will:
Check the refrigerant levels and make sure the system is running efficiently.
Test the heating and cooling functions to ensure proper performance.
Verify that the thermostat and all electrical components are working correctly.
After completing the tests, the contractor will clean up the installation site, removing any debris or packaging materials.
Heat Pump Installation: Final Thoughts
Heat pump installation is a complex but rewarding process. You may benefit from an energy-efficient heating and cooling system that will lower your environmental impact and save you money on utility costs by selecting a certified HVAC professional and making sure your house is prepared for installation.
A properly installed heat pump can drastically reduce your reliance on traditional heating methods, such as natural gas or electric resistance heating. Additionally, it offers year-round comfort by providing both heating and cooling capabilities.
Contact our experienced HVAC service team today to learn more about how a heat pump can improve your home’s energy efficiency. Our experts are ready to help you select, install, and maintain your new system.
R290 air to water heat pump
Eine Schritt-für-Schritt-Anleitung zur Installation einer Wärmepumpe
Suchen Sie nach einer effizienteren Möglichkeit, Ihr Zuhause zu heizen und zu kühlen? Eine Wärmepumpe ist eine der energieeffizientesten Lösungen, um das ganze Jahr über angenehme Innentemperaturen zu gewährleisten. Sie überträgt Wärme von außen und bietet so sowohl Heizung im Winter als auch Kühlung im Sommer. Wenn Sie darüber nachdenken, eine Wärmepumpe zu installieren, ist es wichtig, den Installationsprozess zu verstehen. Die folgende umfassende Anleitung führt Sie Schritt für Schritt durch den gesamten Prozess – von der Vorbereitung bis zur abschließenden Prüfung.
Ein Referenzprojekt der Shenling Wärmepumpe
Was ist eine Wärmepumpe?
Eine Wärmepumpe ist ein energieeffizientes Heiz- und Kühlsystem, das Kältetechnik nutzt, um Wärme zwischen Innen- und Außenbereichen zu übertragen. Im Winter entzieht sie der frischen Außenluft (selbst bei kaltem Wetter) Wärme und bringt diese ins Innere. Während des Sommers kehrt sich der Prozess um, und die Wärmepumpe funktioniert wie eine Klimaanlage, die Wärme aus dem Inneren Ihres Hauses entfernt.
Es gibt drei Haupttypen von Wärmepumpen:
Luftwärmepumpen: Die häufigste Variante, die Wärme aus der Außenluft gewinnt.
Wasserwärmepumpen: Entziehen Wärme aus Wasserquellen wie Seen oder Brunnen.
Erdwärmepumpen: Nutzen die konstante Temperatur des Erdbodens zur Wärmeübertragung.
Für die meisten Wohnanwendungen sind Luftwärmepumpen aufgrund ihrer Effizienz und Kostenersparnis die bevorzugte Wahl.
Wichtige Überlegungen vor der Installation einer Wärmepumpe
Vor dem Kauf einer Wärmepumpe gibt es mehrere Faktoren zu berücksichtigen, um den richtigen Typ für Ihr Haus auszuwählen.
Hausdämmung und Effizienz: Häuser mit schlechter Dämmung oder undichten Stellen profitieren möglicherweise nicht von einer Wärmepumpe, es sei denn, es werden Verbesserungen vorgenommen. Eine ordnungsgemäße Dämmung und Abdichtung sind entscheidend, um die Effizienz der Wärmepumpe zu maximieren.
Hausgröße: Größere Häuser benötigen leistungsstärkere Wärmepumpen, um eine effiziente Heizung und Kühlung zu gewährleisten. Ein professioneller HVAC-Fachmann kann eine Heizlastberechnung durchführen, um die geeignete Größe für Ihre Immobilie zu ermitteln.
Klima: Wärmepumpen sind in vielen Klimazonen effektiv, funktionieren jedoch am besten bei gemäßigten Temperaturen. In extrem kalten Klimazonen kann ein Dual-Fuel-System (Kombination aus Wärmepumpe und einem zusätzlichen Heizkessel) erforderlich sein, um eine optimale Leistung zu gewährleisten.
Vorbereitung auf die Installation der Wärmepumpe
Die Installation einer Wärmepumpe umfasst sowohl Innen- als auch Außenteile. Eine gründliche Vorbereitung ist entscheidend, um einen reibungslosen Installationsprozess zu gewährleisten.
Überprüfen Sie die HOA-Genehmigung: Wenn Sie in einer Nachbarschaft wohnen, die von einer Eigentümergemeinschaft (HOA) verwaltet wird, stellen Sie sicher, dass Sie die Genehmigung für alle Außenmodifikationen an Ihrem Haus einholen, bevor Sie mit der Installation beginnen.
Stellen Sie ausreichend Platz sicher: Die Außeneinheit benötigt eine flache, ebene Fläche für die Installation. Darüber hinaus braucht die Inneneinheit genügend Raum für eine ordnungsgemäße Luftzirkulation und Wartungszugang.
Setzen Sie einen Zeitrahmen: Die Installation der Wärmepumpe kann mehrere Stunden oder sogar einen ganzen Tag in Anspruch nehmen, abhängig von der Komplexität des Systems und dem Zustand der bestehenden Infrastruktur. Stellen Sie sicher, dass Sie auf vorübergehende Störungen bei der Heizung und Kühlung während der Installation vorbereitet sind.
Ebnen Sie den Boden für die Außeneinheit: Installieren Sie eine Verbundplatte oder eine Betonplatte, auf der die Außeneinheit platziert wird. Dies hilft, Wasseransammlungen zu vermeiden und verbessert die langfristige Effizienz des Systems.
Shenling Wärmepumpe
Entfernung der alten Wärmepumpe
Wenn Sie eine bestehende Wärmepumpe ersetzen, besteht der erste Schritt darin, das alte System sicher abzuklemmen und zu entfernen. Dabei müssen Kältemittel mit besonderer Sorgfalt behandelt werden, da diese umweltschädlich sind. Lizenziertes Fachpersonal verwendet Spezialgeräte, um das Kältemittel zurückzugewinnen und es gemäß den EPA-Vorschriften sicher zu entsorgen.
Sobald das Kältemittel sicher entfernt ist, werden die alten elektrischen Anschlüsse getrennt, und die Einheit wird ausgebaut.
Installation des neuen Wärmepumpensystems
Nachdem das alte System entfernt wurde, ist es Zeit, die neue Wärmepumpe zu installieren. Die folgenden Schritte sind dabei entscheidend:
Installation des Verdampferregisters im Innenbereich: Das Verdampferregister ist für die Wärmeübertragung in Ihrem Zuhause verantwortlich. Je nach Systemtyp kann das Register gekapselt oder ungekapselt sein. Gekapselte Register werden in der Regel empfohlen, da sie während der Installation besseren Schutz bieten.
Anschließen der Kältemittelleitungen: Die Kältemittelleitungen, die normalerweise aus Kupfer bestehen, müssen zwischen den Innen- und Außeneinheiten verbunden werden. Der Installateur wird diese Leitungen sorgfältig verschweißen, um eine dichte Verbindung sicherzustellen.
Elektrische Anschlüsse: Die Wärmepumpe muss in das elektrische System Ihres Hauses integriert werden. Ein qualifizierter Fachmann übernimmt die Verkabelung der Wärmepumpe und stellt sicher, dass alles ordnungsgemäß angeschlossen und den Vorschriften entsprechend ausgeführt ist.
Thermostateinrichtung: Für eine optimale Steuerung der Wärmepumpe kann ein neuer Thermostat erforderlich sein, oder Ihr bestehender Thermostat wird aufgerüstet. Der Techniker wird den Thermostat anschließen und kalibrieren, um sowohl Heiz- als auch Kühlfunktionen zu steuern.
Installation der Außeneinheit: Die Außeneinheit beherbergt den Kompressor und den Wärmetauscher. Sie wird in der Regel auf einer erhöhten Verbundplatte installiert, um sie vor Schmutz, Schnee und Eis zu schützen. In einigen Fällen sind zusätzliche Anpassungen des Standorts erforderlich, um einen optimalen Luftstrom und eine hohe Effizienz zu gewährleisten.
Wie lange dauert die Installation einer Wärmepumpe?
Im Durchschnitt dauert die Installation einer Wärmepumpe zwischen 6 und 8 Stunden. Die Installationszeit kann jedoch je nach verschiedenen Faktoren variieren:
Wetterbedingungen (Kälte, Regen oder extreme Hitze)
Die Komplexität der bestehenden Rohrleitungen und Verkabelung in Ihrem Haus
Zusätzliche Installationsanforderungen, wie neue Rohrleitungen oder die Notwendigkeit eines aufgerüsteten elektrischen Systems
Die abschließenden Schritte und Tests
Nach Abschluss der Installation führt der Techniker eine Inbetriebnahme durch, die einen gründlichen Test des Wärmepumpensystems umfasst. Dieser Vorgang dauert in der Regel 30 bis 45 Minuten. Während dieser Phase wird der Techniker:
Die Kältemittelstände überprüfen und sicherstellen, dass das System effizient läuft.
Die Heiz- und Kühlfunktionen testen, um eine ordnungsgemäße Leistung zu gewährleisten.
Überprüfen, ob der Thermostat und alle elektrischen Komponenten korrekt funktionieren.
Nach Abschluss der Tests wird der Installateur die Baustelle aufräumen und alle Rückstände oder Verpackungsmaterialien entfernen.
Installation einer Wärmepumpe: Abschließende Überlegungen
Die Installation einer Wärmepumpe ist ein komplexer, aber lohnender Prozess. Durch die Wahl eines zertifizierten HVAC-Fachmanns und eine sorgfältige Vorbereitung Ihres Hauses können Sie von einem energieeffizienten Heiz- und Kühlsystem profitieren, das sowohl Ihre Umweltbelastung reduziert als auch Ihre Energiekosten senkt.
Eine ordnungsgemäß installierte Wärmepumpe kann Ihre Abhängigkeit von traditionellen Heizmethoden wie Erdgas oder elektrischer Widerstandsheizung erheblich verringern. Darüber hinaus bietet sie das ganze Jahr über Komfort, da sie sowohl Heiz- als auch Kühlfunktionen erfüllt.
Kontaktieren Sie noch heute unser erfahrenes HVAC-Serviceteam, um mehr darüber zu erfahren, wie eine Wärmepumpe die Energieeffizienz Ihres Hauses verbessern kann. Unsere Experten stehen bereit, um Ihnen bei der Auswahl, Installation und Wartung Ihres neuen Systems zu helfen.
¿Buscas una forma más eficiente de calentar y enfriar tu hogar? Una bomba de calor es una de las soluciones más eficientes en términos de energía para mantener temperaturas interiores confortables durante todo el año. Al transferir el calor desde el exterior, puede proporcionar calefacción en invierno y refrigeración en verano. Si estás considerando instalar una, es importante entender el proceso de instalación. La siguiente guía completa te llevará paso a paso, desde la preparación hasta las pruebas finales.
An Reference Project of Shenling Heat Pump
¿Qué es una bomba de calor?
Una bomba de calor es un sistema de calefacción y refrigeración eficiente que utiliza tecnología de refrigeración para transferir calor entre el interior y el exterior. En invierno, extrae calor del aire fresco exterior (incluso en climas fríos) y lo lleva al interior. Durante el verano, el proceso se invierte, y la bomba de calor actúa como un acondicionador de aire, eliminando el calor del interior de tu hogar.
Existen tres tipos principales de bombas de calor:
Air-source heat pumps: El tipo más común, que extrae calor del aire exterior.
Water-source heat pumps: Obtienen calor del agua, como lagos o pozos.
Geothermal heat pumps: Utilizan la temperatura estable de la tierra para transferir calor.
Para la mayoría de las aplicaciones residenciales, las bombas de calor de fuente de aire son la opción preferida debido a su eficiencia y rentabilidad.
Aspectos clave antes de instalar una bomba de calor
Antes de comprar una bomba de calor, hay varios factores a considerar para elegir el tipo adecuado para tu hogar.
Aislamiento y eficiencia del hogar: Las viviendas con mal aislamiento o fugas de aire pueden no beneficiarse de una bomba de calor a menos que se realicen mejoras. Un buen aislamiento y sellado son cruciales para maximizar la eficiencia de la bomba de calor.
Tamaño de la vivienda: Las casas más grandes requieren bombas de calor más potentes para garantizar una calefacción y refrigeración eficientes. Un contratista profesional de HVAC puede realizar un cálculo de carga térmica para determinar el tamaño adecuado para tu propiedad.
Clima: Aunque las bombas de calor son efectivas en muchos climas, funcionan mejor en temperaturas moderadas. En climas extremadamente fríos, puede ser necesario un sistema de combustible dual (que combine una bomba de calor con un horno de respaldo) para un rendimiento óptimo.
Preparación para la instalación de una bomba de calor
Instalar una bomba de calor implica tanto componentes interiores como exteriores. Una preparación adecuada es clave para garantizar un proceso de instalación sin problemas.
Verificar la aprobación de la HOA: Si vives en un vecindario gobernado por una asociación de propietarios (HOA), asegúrate de obtener la aprobación para cualquier modificación exterior en tu hogar antes de comenzar el proceso de instalación.
Asegurar espacio suficiente: La unidad exterior requiere una superficie plana y nivelada para su instalación. Además, la unidad interior necesita suficiente espacio para un flujo de aire adecuado y acceso para el mantenimiento.
Establecer un cronograma: La instalación de una bomba de calor puede tomar varias horas o incluso un día, dependiendo de la complejidad del sistema y del estado de la infraestructura existente. Asegúrate de estar preparado para una interrupción temporal en la calefacción y refrigeración durante la instalación.
Nivelar el terreno para la unidad exterior: Instala una base compuesta o una losa de concreto para que la unidad exterior se asiente. Esto ayuda a prevenir la acumulación de agua y mejora la eficiencia a largo plazo del sistema.
Shenling Heat Pump
Desconexión de la bomba de calor antigua
Si estás reemplazando una bomba de calor existente, el primer paso es desconectar y retirar de forma segura el sistema antiguo. Esto requiere un manejo cuidadoso de los refrigerantes, ya que son peligrosos para el medio ambiente. Profesionales con licencia usarán equipos especializados para recuperar y desechar el refrigerante de manera segura, cumpliendo con las regulaciones de la EPA.
Una vez que el refrigerante se haya retirado de manera segura, se desconectarán las conexiones eléctricas antiguas y se retirará la unidad del lugar.
Instalación del nuevo sistema de bomba de calor
Una vez retirado el sistema antiguo, es momento de instalar la nueva bomba de calor. A continuación, se describen los pasos clave del proceso:
Instalar la bobina evaporadora interior: La bobina evaporadora se encarga de transferir el calor dentro de tu hogar. Dependiendo del tipo de sistema, la bobina puede estar encajonada o no. Se recomienda generalmente el uso de bobinas encajonadas, ya que ofrecen mejor protección durante la instalación.
Conexión de las líneas de refrigerante: Las líneas de refrigerante, generalmente hechas de cobre, deben conectarse entre las unidades interiores y exteriores. El contratista soldará cuidadosamente estas líneas para garantizar una conexión sin fugas.
Conexiones eléctricas: La bomba de calor debe integrarse en el sistema eléctrico de tu hogar. Un profesional calificado se encargará del cableado de la bomba de calor, asegurándose de que todo esté correctamente conectado y cumpla con las normativas.
Configuración del termostato: Es posible que se necesite un termostato nuevo o una actualización del existente para controlar de manera óptima la bomba de calor. El técnico conectará y calibrará el termostato para manejar las funciones de calefacción y refrigeración.
Instalar la unidad exterior: La unidad exterior contiene el compresor y el intercambiador de calor. Por lo general, se coloca sobre una base compuesta elevada para protegerla de escombros, nieve y hielo. En algunos casos, puede ser necesario realizar modificaciones adicionales en la ubicación de la unidad para garantizar un flujo de aire y eficiencia óptimos.
¿Cuánto tiempo lleva la instalación de una bomba de calor?
En promedio, la instalación de una bomba de calor tarda entre 6 y 8 horas. Sin embargo, el tiempo de instalación puede variar según varios factores:
Condiciones climáticas (frío, lluvia o calor extremo)
La complejidad del sistema de conductos y cableado existente en tu hogar
Requisitos adicionales de instalación, como nuevos conductos o la necesidad de actualizar el sistema eléctrico
Pasos finales y pruebas
Una vez finalizada la instalación, el técnico llevará a cabo un proceso de puesta en marcha, que incluye una prueba exhaustiva del sistema de la bomba de calor. Este proceso suele durar entre 30 y 45 minutos. Durante esta fase, el técnico realizará lo siguiente:
Comprobar los niveles de refrigerante y asegurarse de que el sistema funcione de manera eficiente.
Probar las funciones de calefacción y refrigeración para garantizar un rendimiento adecuado.
Verificar que el termostato y todos los componentes eléctricos estén funcionando correctamente.
Después de completar las pruebas, el contratista limpiará el lugar de instalación, retirando cualquier residuo o material de embalaje.
Instalación de una bomba de calor: Reflexiones finales
La instalación de una bomba de calor es un proceso complejo pero gratificante. Al elegir a un profesional certificado en HVAC y asegurarte de que tu hogar esté preparado para la instalación, podrás disfrutar de un sistema de calefacción y refrigeración eficiente que reducirá tu impacto ambiental y te ahorrará dinero en costos de servicios.
Una bomba de calor instalada correctamente puede reducir drásticamente tu dependencia de métodos de calefacción tradicionales, como el gas natural o la calefacción por resistencia eléctrica. Además, ofrece comodidad durante todo el año al proporcionar tanto calefacción como refrigeración.
Ponte en contacto con nuestro experimentado equipo de servicios HVAC hoy mismo para obtener más información sobre cómo una bomba de calor puede mejorar la eficiencia energética de tu hogar. Nuestros expertos están listos para ayudarte a seleccionar, instalar y mantener tu nuevo sistema.